What is the meaning of the arrows?
See also:
How Email Parser works
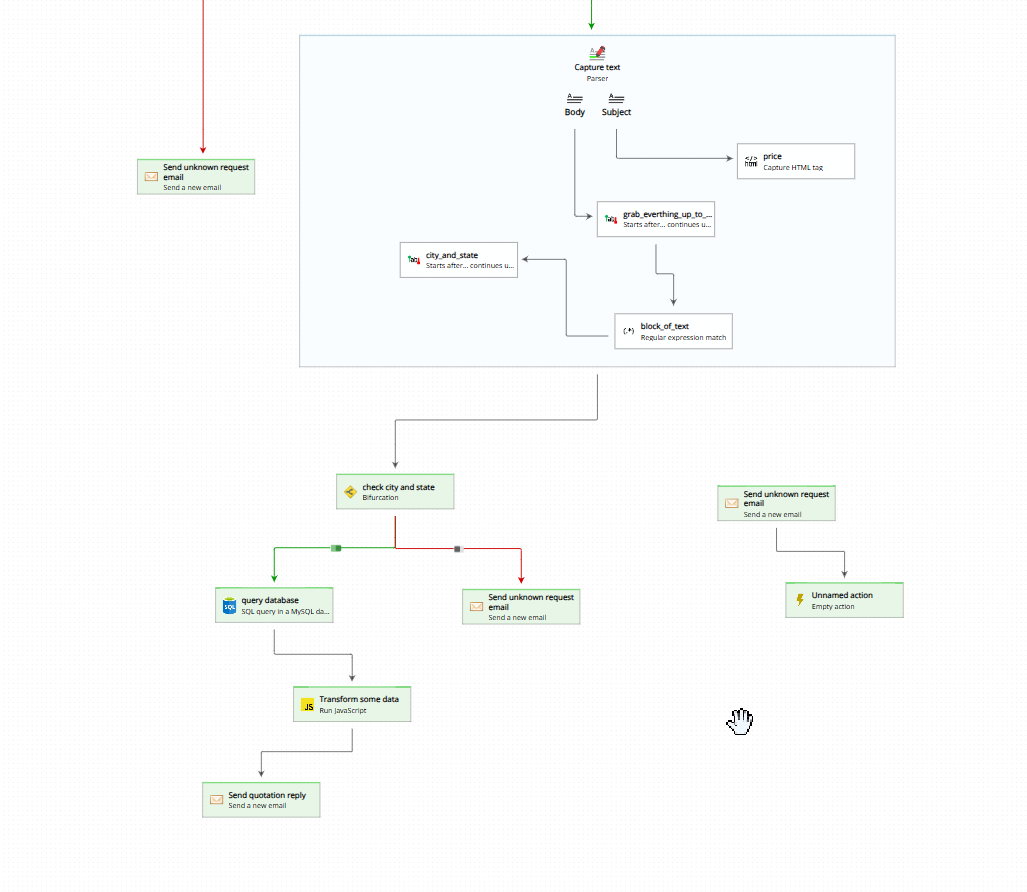
Email Parser uses arrows to connect email processing steps together. When an email arrives, it follows the arrows from the email account at the top of the workflow diagram down through each filter, parser, and action until it reaches the final step at the bottom. For more complex workflows, you can also use bifurcations and loops to conditionally branch or repeat steps.
Arrows also connect fields to each other, creating a data flow. When you draw an arrow from one field to another, the text captured by the first field becomes the input for the second. For example, instead of searching an entire email for a postal code, you could first capture the full address with one field, then connect it with an arrow to a second field that extracts just the postal code from that address. This makes parsing more precise and efficient.
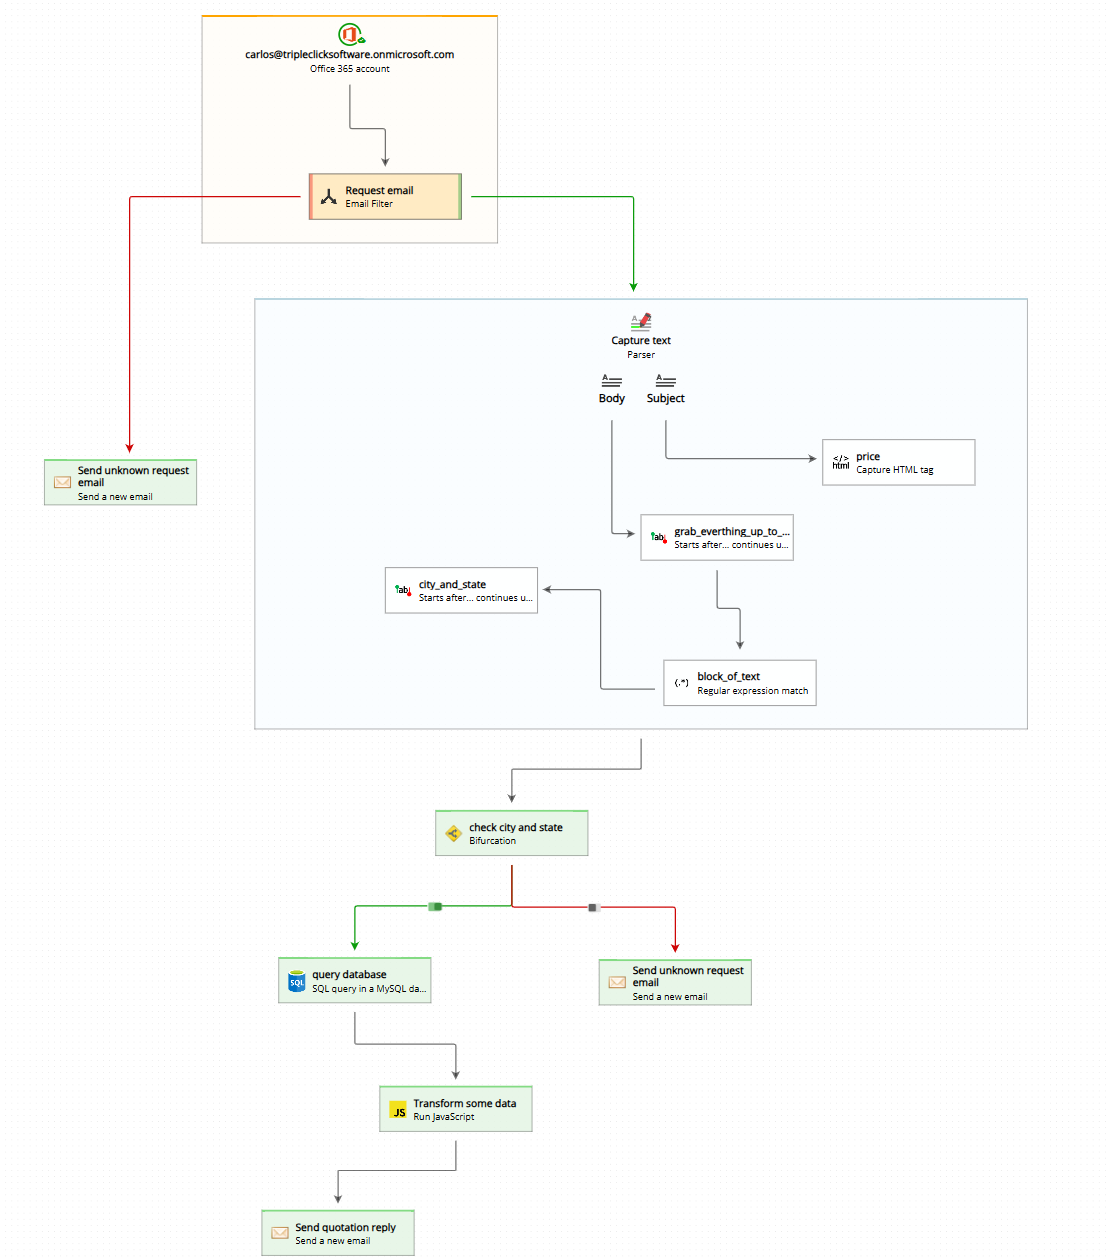
You will also see red and green arrows coming from within an email account box. These are created by filters placed inside the email account. A filter evaluates each incoming email against your conditions and directs it along the green arrow (condition met) or the red arrow (condition not met). For instance, if your workflow processes form submission emails, a filter can ensure unrelated emails (like bank notifications) do not continue through the workflow.
How can I change the arrows?
You create, modify, and delete arrows directly on the workflow diagram using your mouse. To create a new arrow, hover over the source item until a small arrow icon appears, then click and drag it to the destination item. To modify an existing arrow, drag its endpoints to a different item, or use the item properties panel on the right side of the application. To delete an arrow, click on it to select it and then click the “X” button that appears.

What happens if an item is not connected to another item?
Unconnected items are ignored during email processing. Email Parser will not execute them. This is actually useful for workflow management: you can keep disconnected items or entire branches in your workflow diagram as a “staging area” that you activate only when needed.
Since adding and removing arrows is quick, you can easily switch between different workflow configurations without rebuilding items from scratch.