Exporting email contents to Google Sheets
See also:
Saving Amazon notifications to Google Sheets (Example)
Email Parser can automatically save the data captured from your emails directly into a Google Sheets spreadsheet. Each time an email is processed, a new row is added to the spreadsheet with the fields you specify. This is a great way to collect structured data from incoming emails without any manual effort.
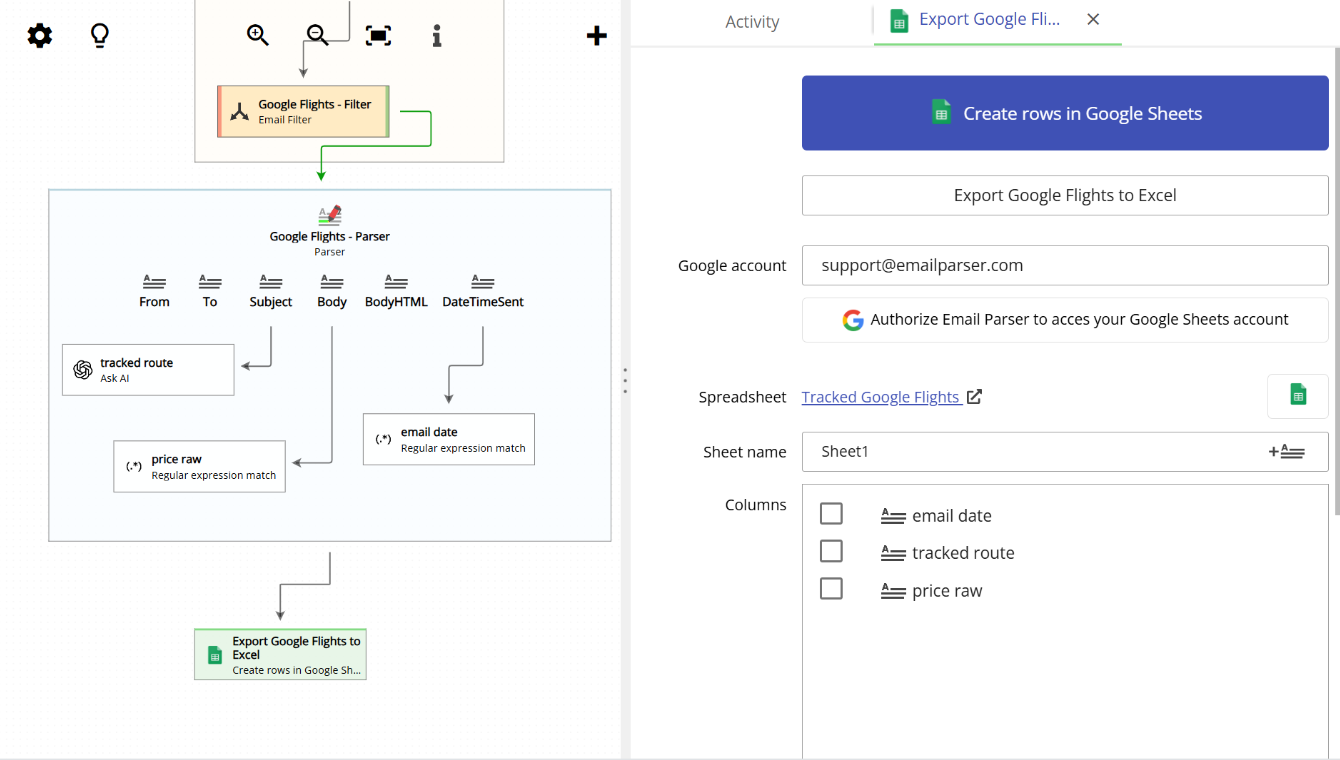
To set this up, you create an action of type Create rows in Google Sheets. In the configuration you enter your Google Workspace or Gmail email address and click the Authorize Email Parser to access your Google Sheets account button. Once the authorization process is complete, you select the spreadsheet file you want to use and then define the columns you want to populate. Columns are added one by one using the + button, and each column is mapped to a captured field from the email.
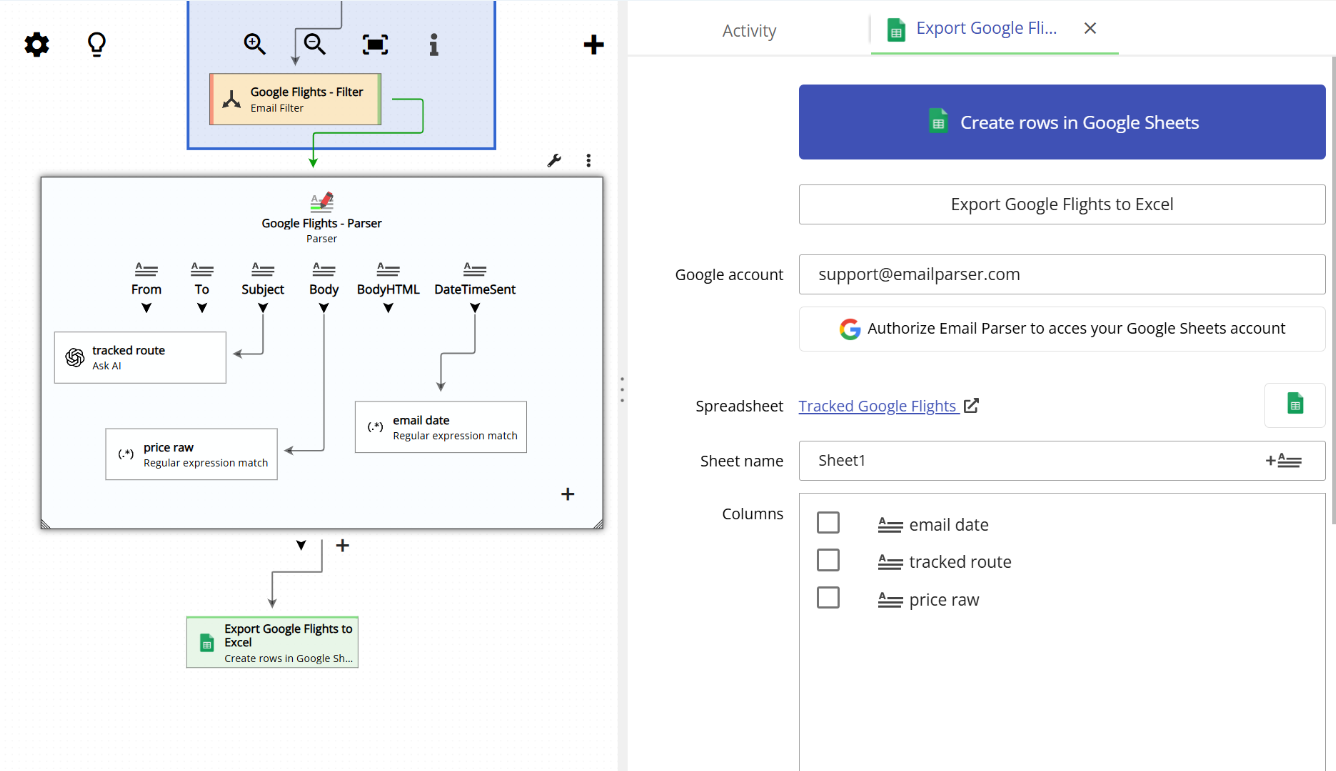
Important: Email Parser can only see spreadsheets it created
Email Parser is unable to access all the Google Sheets files in your Google Drive. It can only see and write to spreadsheets that were created from within Email Parser itself. This is a security restriction of the Google Sheets integration. Email Parser does not request broad access to your entire Google Drive.
To create a new spreadsheet, click the Browse existing Google Sheets button in the action configuration. A dialog will open showing the spreadsheets that Email Parser has already created in your account. At the bottom of this dialog there is a + button that you can click to create a new empty spreadsheet. Once created, it will appear in the list and you can select it. The screenshot below shows this dialog:

Seeing it in action
The animation below shows the full process from start to finish. We manually select an existing email and click the Process email button. This triggers the workflow, the email is processed, all the data is parsed, and the result is saved to Google Sheets as a new row.
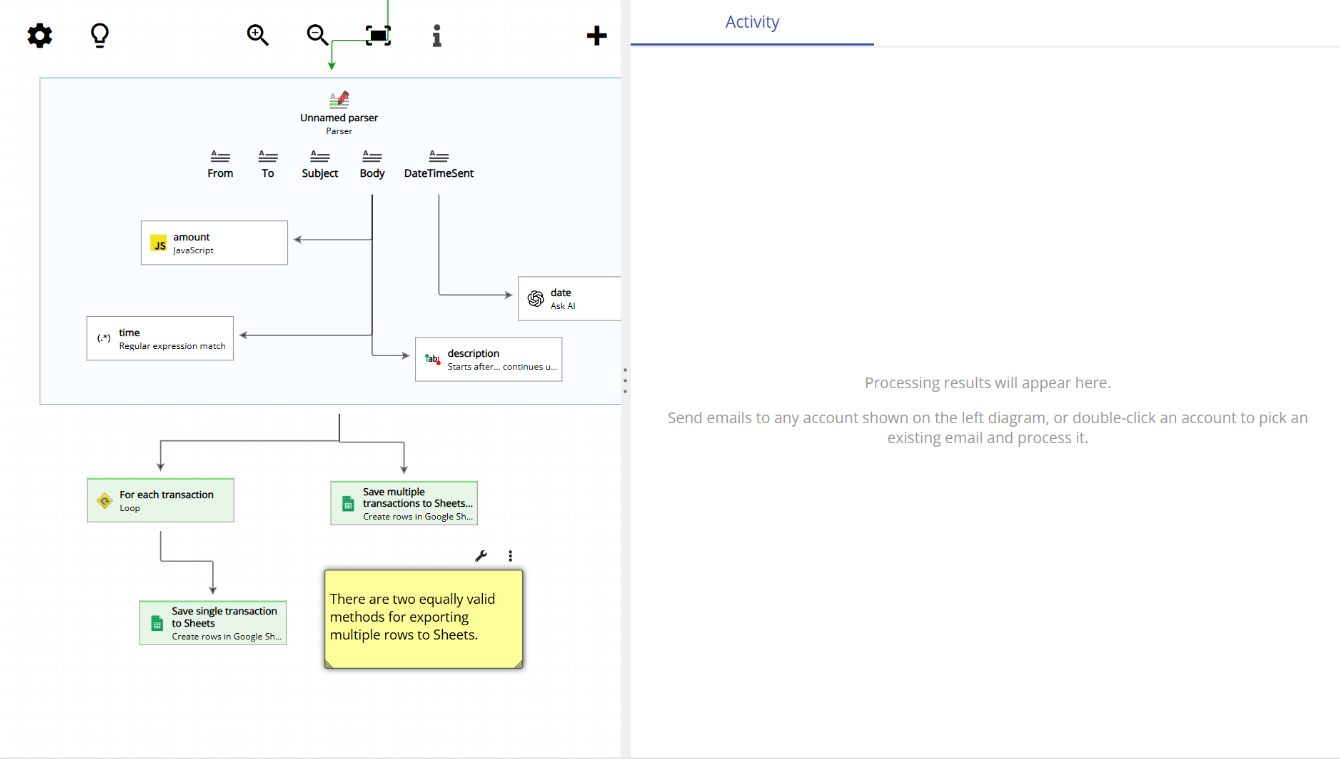
How to save multiple rows to Google Sheets
Sometimes a single email contains repeated information that should be spread across multiple rows in your spreadsheet. For example, an order confirmation email might list several items, and you want each item to be saved as its own row. Email Parser supports this scenario in two different ways.
Simple method: The easiest approach is to just add the captured fields as columns in the Google Sheets action, the same way you would for a single-row scenario. If a captured field contains multiple values (for example, a list of items), Email Parser will automatically detect this and arrange them as separate rows for you. This requires no extra configuration and works well in most cases.
Advanced method using a Loop action: If you need more precise control over how rows are grouped, you can use a Loop action. In the Loop action you define which set of fields represents a single row. You then attach the Google Sheets action to the Loop, so that for each iteration of the loop, one row is written to the spreadsheet. This approach gives you full control when the email data has a more complex structure.
The animation below demonstrates both approaches: