How to set up a Gmail email account
See also:
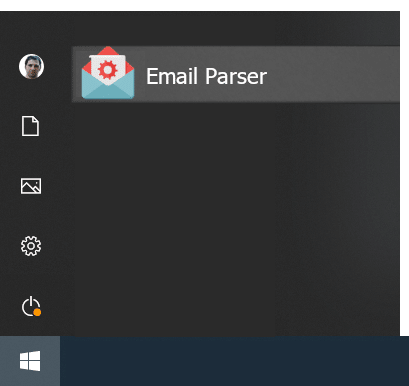
Adding your email account
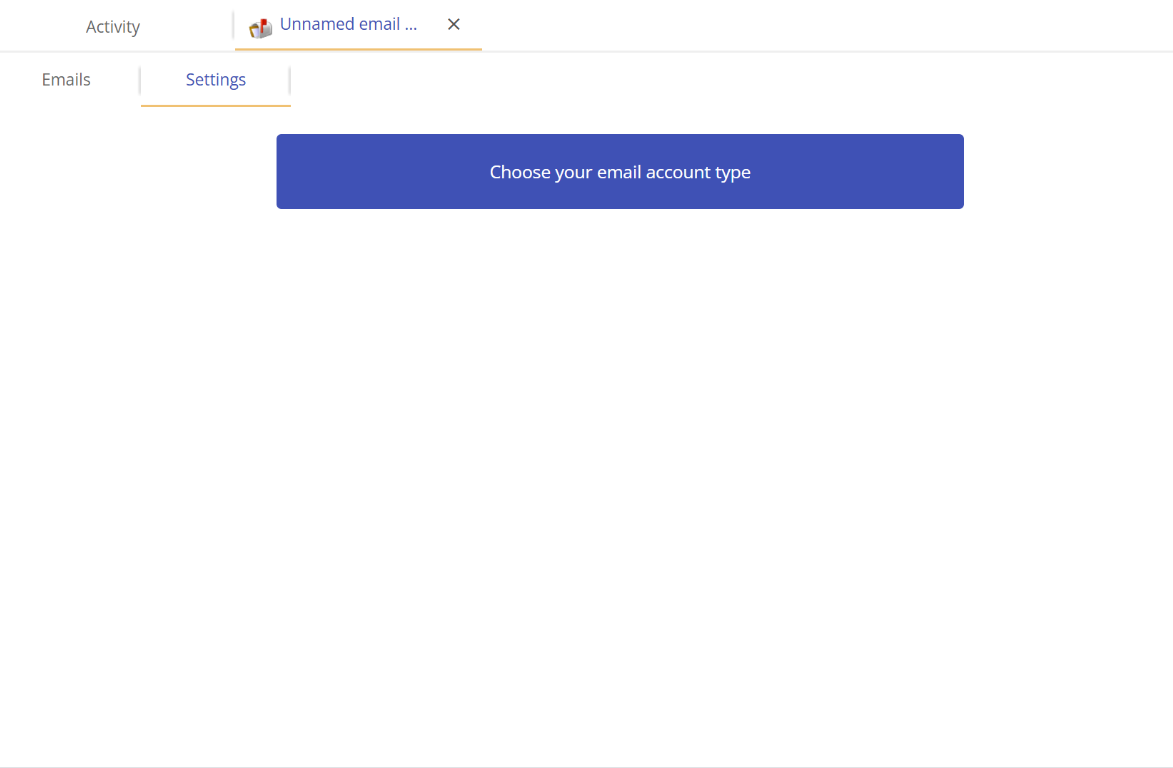
The first step is to create an email account in the workflow diagram on the left. When selecting the account type, choose Gmail from the list of available options (which also includes IMAP, POP, and others, as shown above).
Once you have selected Gmail and entered your email address, click the “Authorize Email Parser to access my Gmail account” button. This will open a new browser window where Google will ask you to sign in and grant Email Parser permission to access your Gmail account.
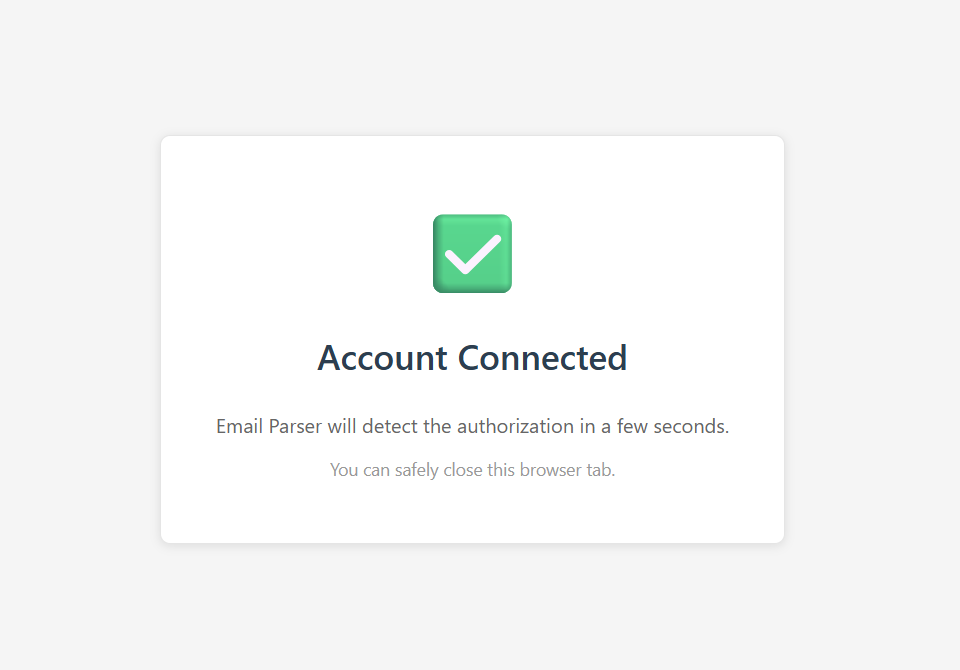
After completing the Google authorization steps, you will see a success message in the browser (shown above), confirming that Email Parser has been granted access to your Gmail account. You can then close that browser window and return to Email Parser.
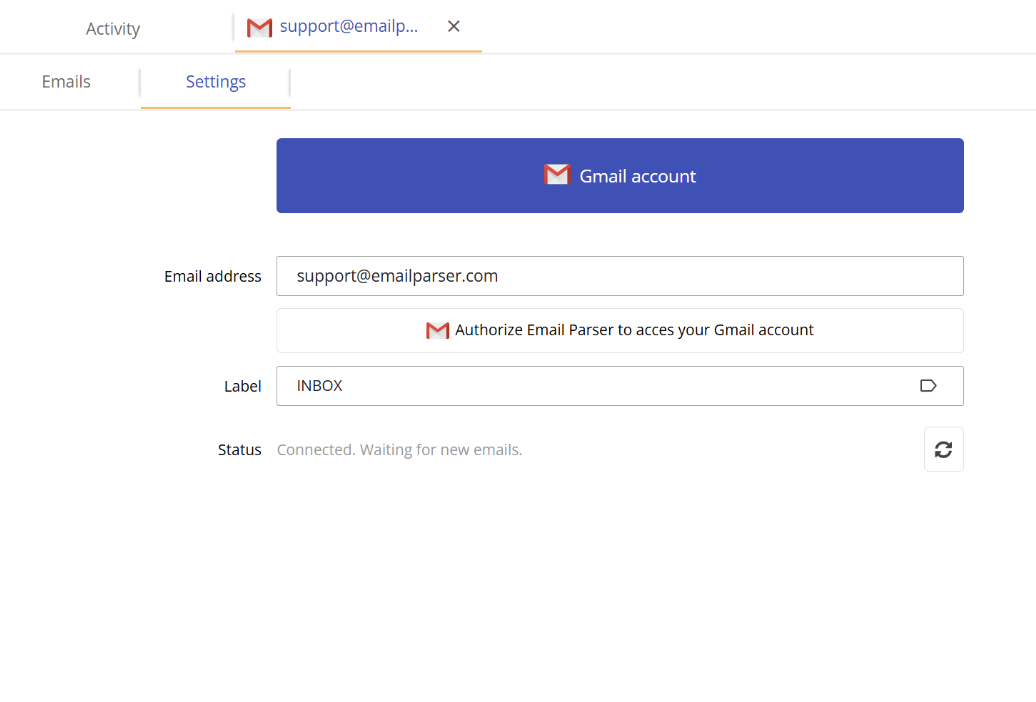
Back in Email Parser, the status box for your Gmail account should now show “Connected. Waiting for new emails”, which means everything is working correctly. By default, Email Parser monitors your Inbox, but you can also choose any Gmail label you have set up in your account. This is useful if you want to process emails that are automatically filtered into specific folders.
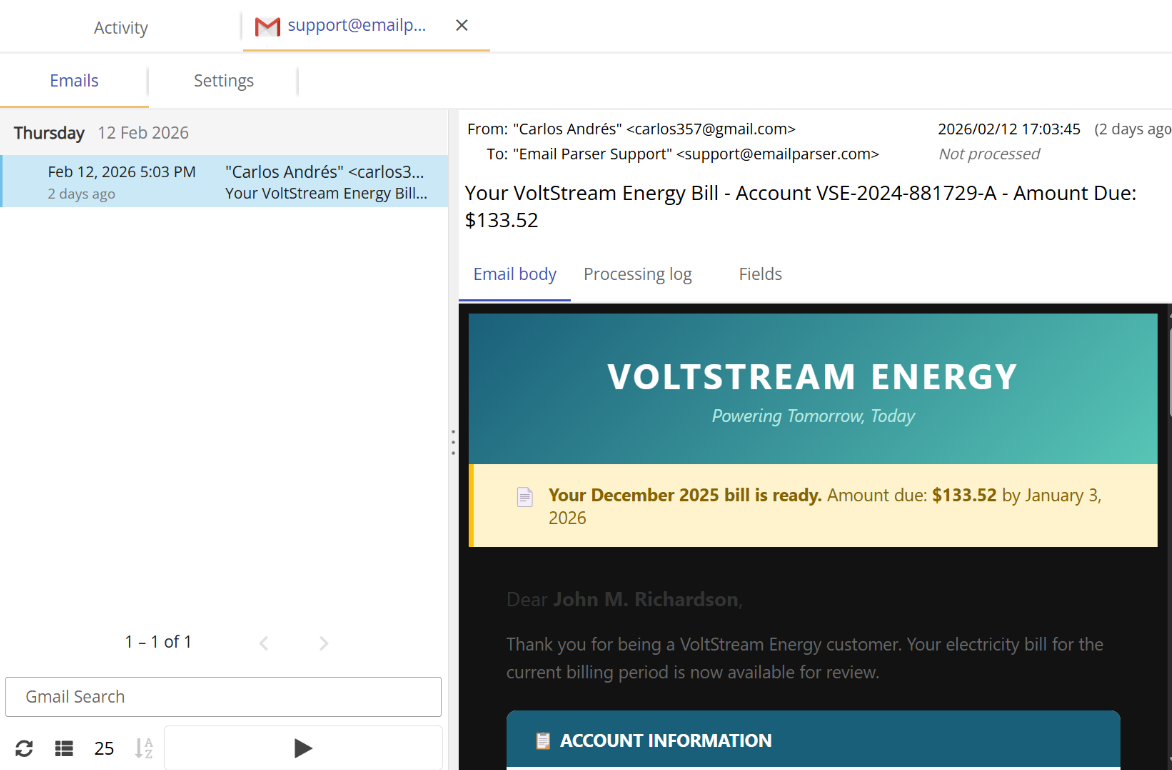
You can also browse the emails that have been received by clicking the Emails tab at the top left of the application. This view shows you all the emails fetched from your Gmail account and allows you to inspect them, which is particularly helpful when building and testing your parsers.